Poached rhubarb (two ways)
effort: 😫 reward: 😋😋😋+
source: Personal recipe (see below)
comments:
For use in cakes and crumbles, or to serve with panna cotta. If you're a rhubarb fanatic like me, and don't mind investing in some good quality canning jars, it's worth the effort to poach a bunch of rhubarb at once and can it so that you can make rhubarb desserts at the drop of a hat. But you can also just make enough rhubarb for a single cake/crumble/dessert, in which case I would do it in the oven instead. I've provided the methods for both below. The poaching liquid is bloody delicious to add to cocktails, gin, fizzy water, or even on porridge for breakfast.
600g single-serve poached rhubarb
Ingredients
- 600g rhubarb, chopped into 3cm pieces
- 150g caster sugar
- 1 thumb size piece of ginger, finely grated
- zest and juice of one orange
Method
- Preheat the oven to 200 degrees.
- Line a baking tray with foil, then baking paper on top of the foil. Fold up the sides of the foil to make little walls to catch the delicious rhubarb poaching juice.
- Arrange the rhubarb on the tray, with the pieces packed tightly next to each other but not on top of eachother
- Sprinkle over the sugar, ginger, and orange zest, then dribble over the orange juice.
- Roast for 15-20 minutes, until rhubarb is soft but not mushy.
- Remove from the oven and let it cool. Drain the poaching liquid into a jar and keep the rhubarb refrigerated in the jar with the poaching liquid, or use immediately as directed.
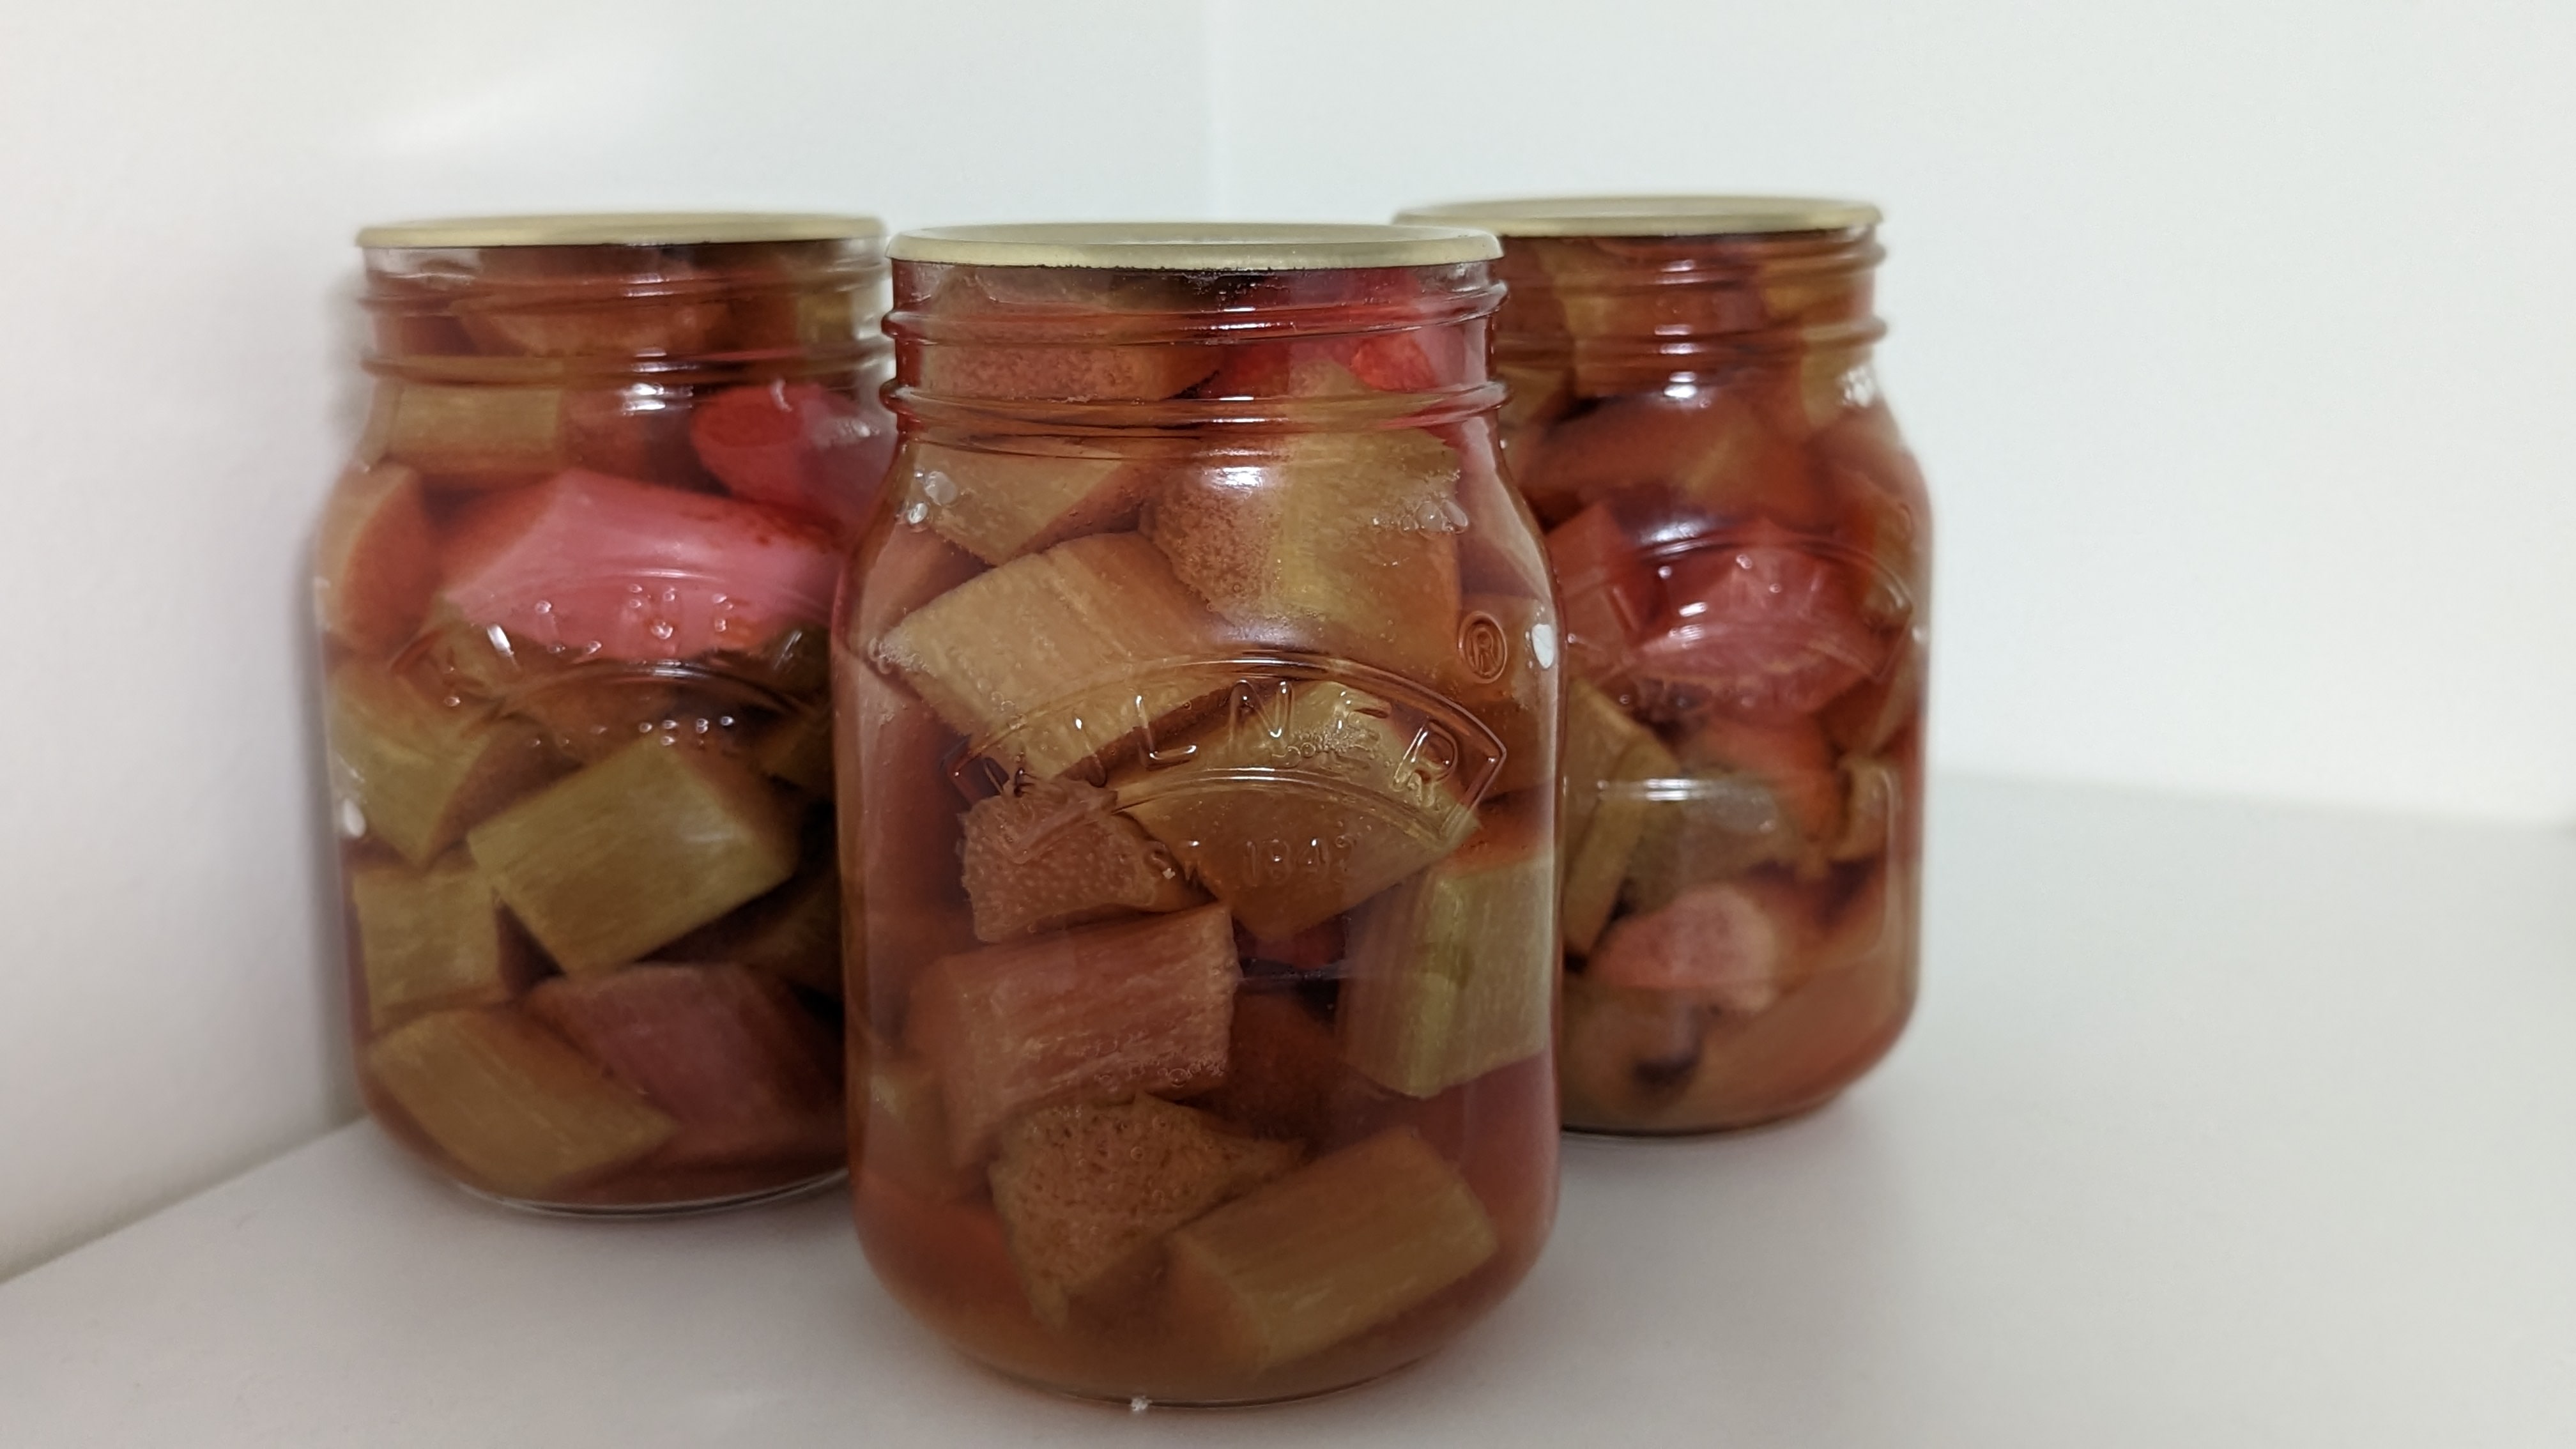
1kg rhubarb, for water bath canning
Notes on preserving rhubarb:
Rhubarb freezes really well (just cut it up like you would if you were to cook with it, put it in a bag, squeeze the air out and freeze it raw), so you can always do that and just poach from frozen as needed. However, if you make lots of rhubarb dishes, I think it's more worthwhile to poach a big batch of rhubarb together and can it in servings for individual recipes. I use two 500ml jars per kg of rhubarb and then one jar = one cake/crumble/whatever.
You will need some equipment for this though. The first is proper glass canning jars. You can't use just any jars or the glass will break. I use Kilner jars, and they're good, but I'm actually thinking of switching to the German Weck jars at some point because they have a slightly bigger size and the rhubarb is packed super tight into the jars as it is and also I would like to have slightly more rhubarb per jar if possible for the serving size. The 500ml jars give you an 'adequate' amount of rhubarb but not a generous amount. Sometimes I use two jars for one recipe because of this.
Then the second thing you need is a big, tall pot that you can fit the three jars in with like an inch or so of water at a rolling boil (so you want more than an inch of actual extra space above the jars or you'll get boiling water everywhere). I got a giant 8L pot from IKEA that is good for this. Plus a smaller pot for cooking the rhubarb itself.
The third thing you need is either like a metal trivet to put on the bottom for the jars to stand on so the bottoms don't crack (I use my instant pot trivet), or if you dont have that then use a tea towel folded over a few times.
The fourth thing you'll need is some big tongs for grabbing the jars to get them in and out of the boiling water. I use ones made by Kilner especially for canning.
The final optional thing you'll need is a cooking thermometer. It's good if you have it to check the temperature of the water when you first put the jars in, so that it's not super hot so they don't break, but it's not essential. If the water is just simmering when you add the jars that's good.
Ingredients
- 1kg rhubarb, chopped into 3cm pieces
- 1/2 cup sugar
- 2-3 tbsp ginger wine or elderflower cordial , OR
- 1/4 tsp rosewater per 500ml jar
- Place the rhubarb in a large bowl with the sugar and toss them together, then leave for 1 or 2 hours (depending on how warm it is) to macerate, until the rhubarb has leeched all its juices and shrunk down. By the time it's done you shouldn't be able to see any more grains of sugar, but just lovely sweetened rhubarb juice.
- Fill your jars with water (so they don't float) then place them in your big canning pot on a trivet and fill the water up until it's level with the top of the lids of the jars. Slowly heat the water in the pot until simmering point (82 degrees). You don't need to sterilise the jars or lids before canning if you're water bath canning for 10 minutes or more, so don't worry about that.
- Meanwhile, place the rhubarb with its juices and the ginger wine or elderflower cordial (if using) in a pot, and bring it to a gentle boil.
- Once it's boiling, ladle the rhubarb with its juices into sterilised jars, leaving a space of about 1/2 inch from the top of your jars if you can (this is called headspace, you can read more about it here). To be honest I'm not always super strict with headspace, but the rhubarb doesn't usually last very long in my house anyway.
- Use a chopstick or similar to remove air bubbles from the jars, then close the lids of each jar, but don't make them super tight because the air still has to escape a bit afterwards when they cool down (that's how you get a seal). Then using your tongs gently lower them into the simmering water one by one.
- Top up with hot water as necessary so that there is about an inch of water covering the top of the jars. Then turn up the heat and bring the water to a rolling boil (100 degrees), and keep the jars in the water while its boiling like that for for 15 minutes if below 1,000 feet in elevation. See here for a guide if you're at a higher elevation than that. You can top up with extra boiling water as needed during this time.
- When the 15 minutes is up, remove the pot from the heat and then let the jars sit in the hot water for another 5 minutes.
- Carefully lift the jars out of the boiling water, being careful not to tilt them too much.
- Place the jars on oven gloves or something heatproof and then let them cool completely without touching them, leaving ample space between the jars.
- Once the jars have cooled completely, remove the ring bands if you're using Kilner jars, and then check if you've got a good seal by seeing if you can lift the jar up just by the lid without it opening. If you can, you're good, and you can store that jar in the pantry for months if you like until you want to use it. If you didn't get a good seal, place that jar in the fridge and use it within a week or so. Check the manufacturer's instructions for other types of jars.
Optional flavourings:
This recipe is slightly modified from the one on this website, which has a lot of good canning recipes.